Today’s blog is a guest blog from Catriona Kelly, the lady behind The Victory Salon who is taking us through how to create victory rolls in your hair – perfect for a vintage 1940s wedding!
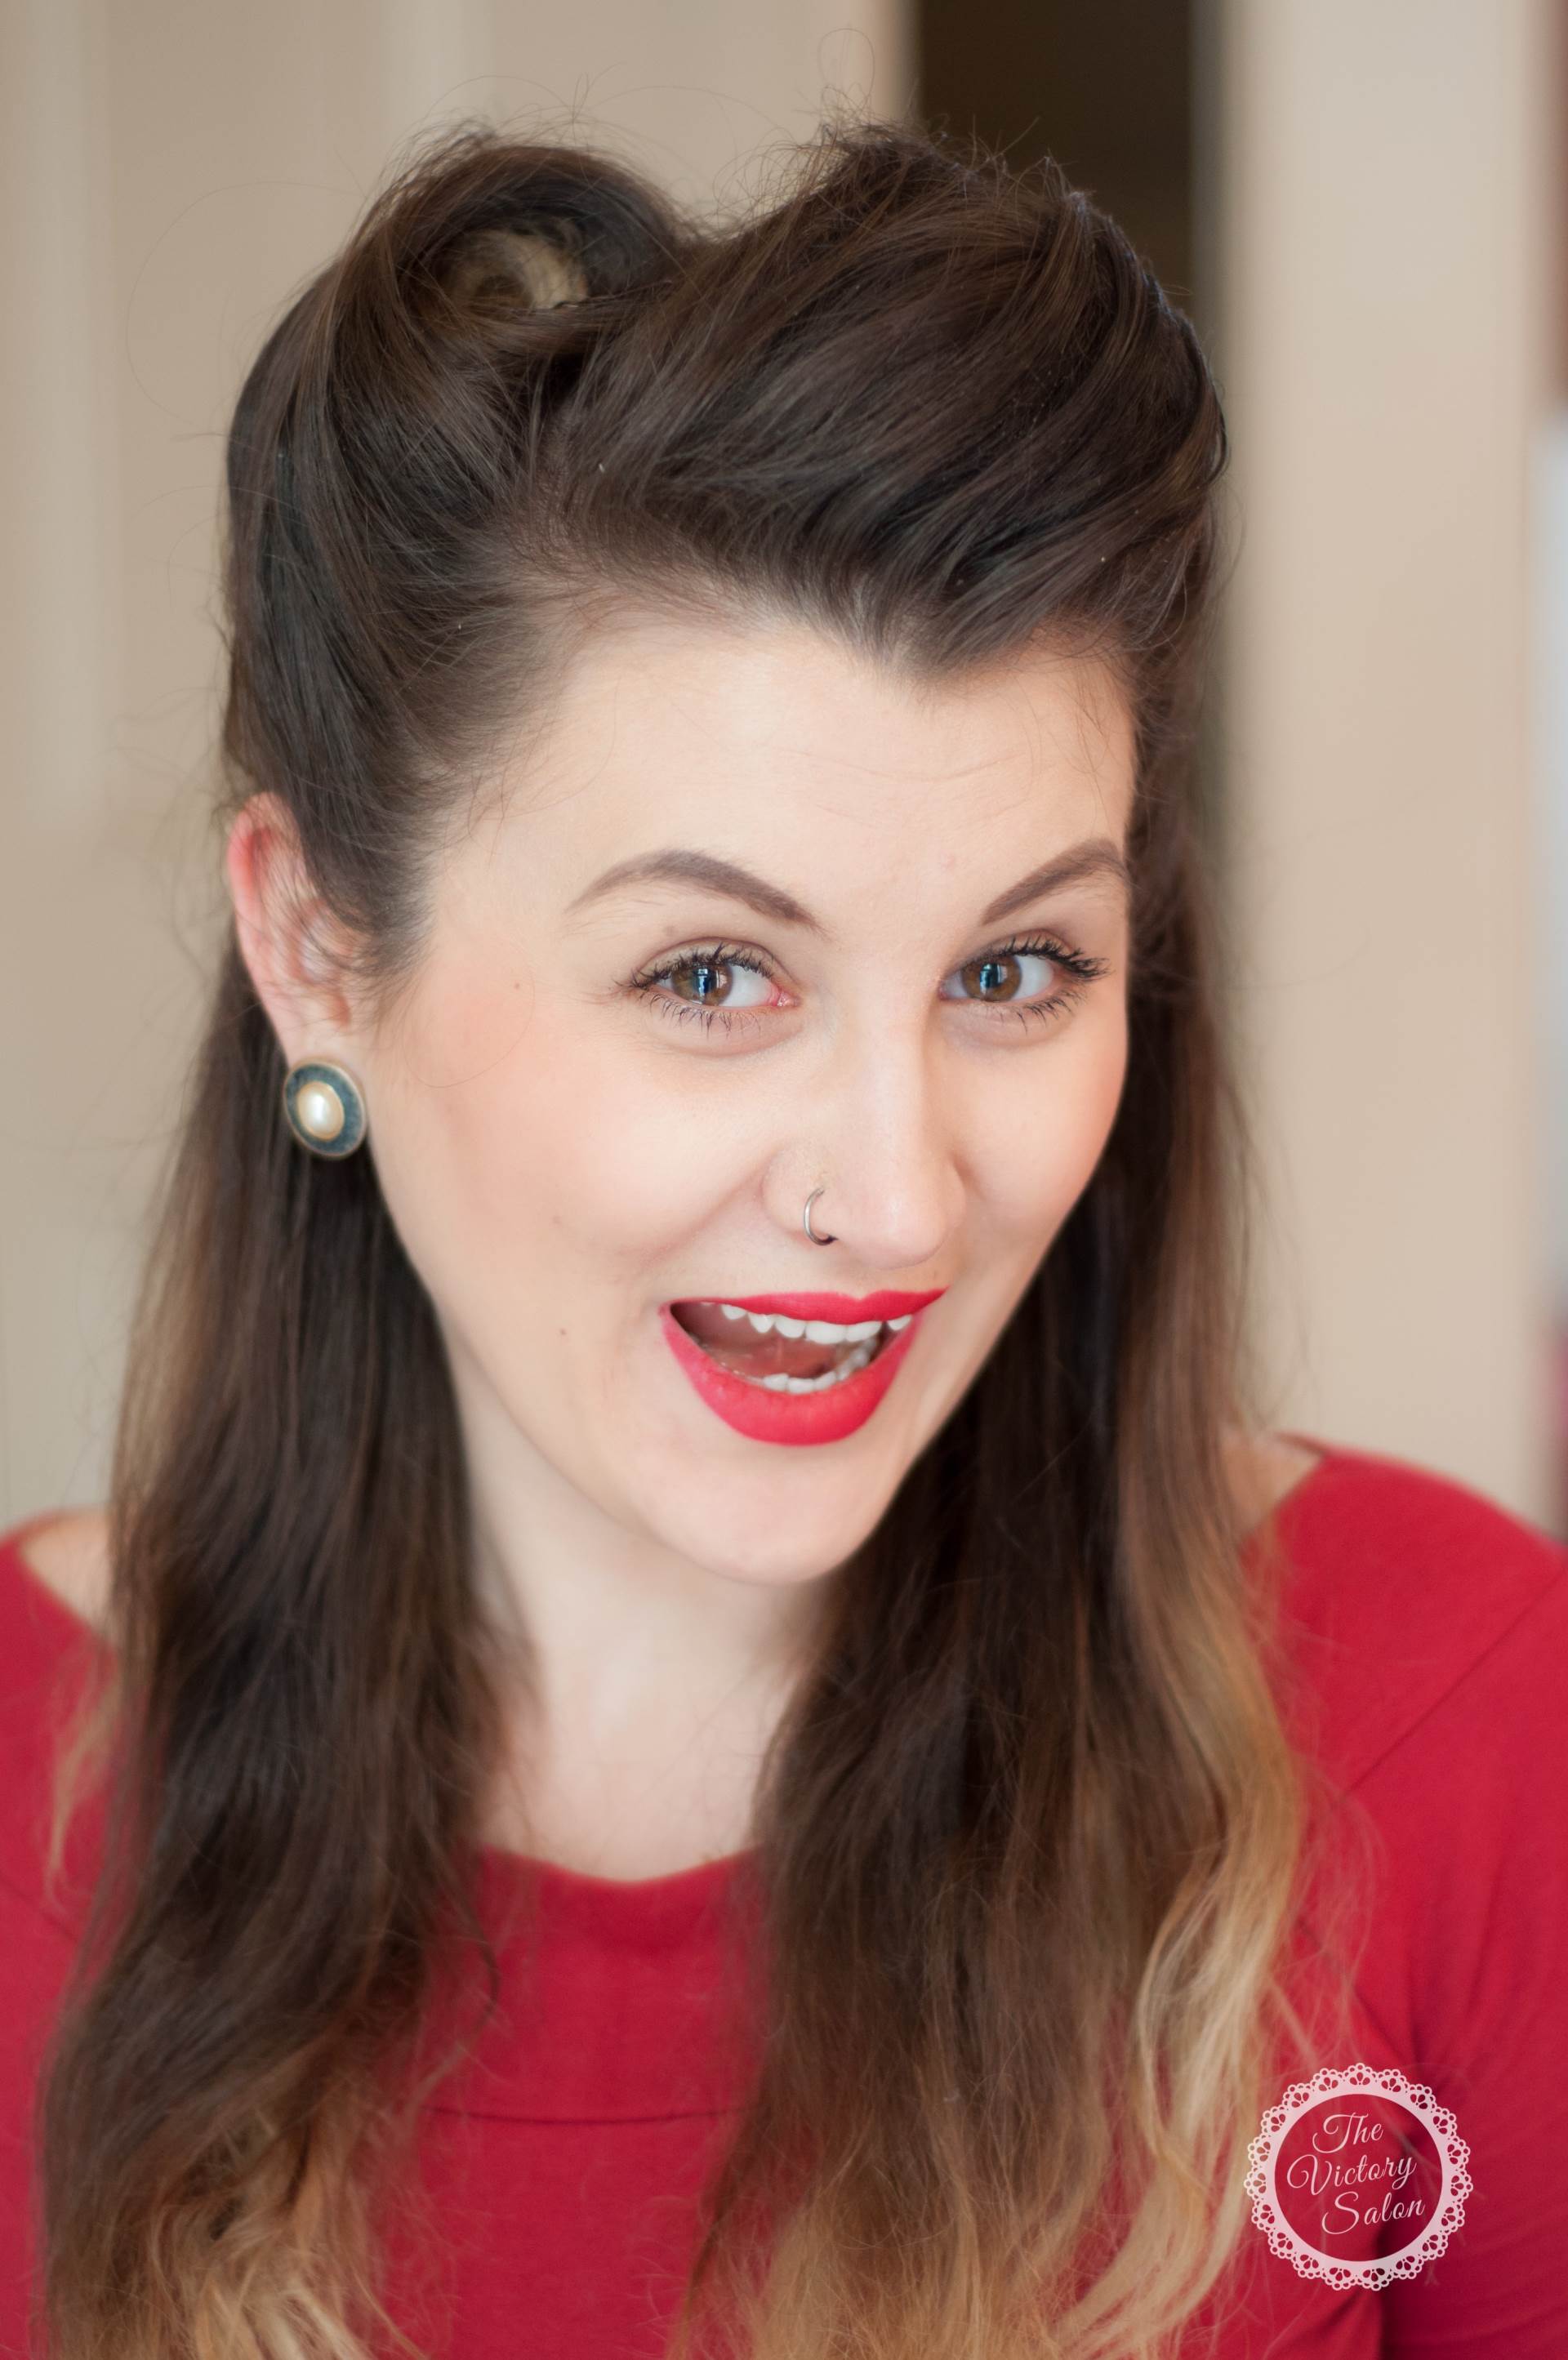 http://magpiewedding.com/wp-admin/post.php?post=6748&action=editWhenever we ask people what vintage beauty they need help with the resounding answer is always victory rolls. Here at The Victory Salon we have decided that it is time for a definitive guide to victory rolls.
First and foremost, there isn’t one correct way to do victory rolls. There are different ways to do them and one way might be good for somebody and just not work for somebody else. You need to find a way that works for you, give a few methods a try to see which you feel the most confident with. We’ll show you the two best ways here.
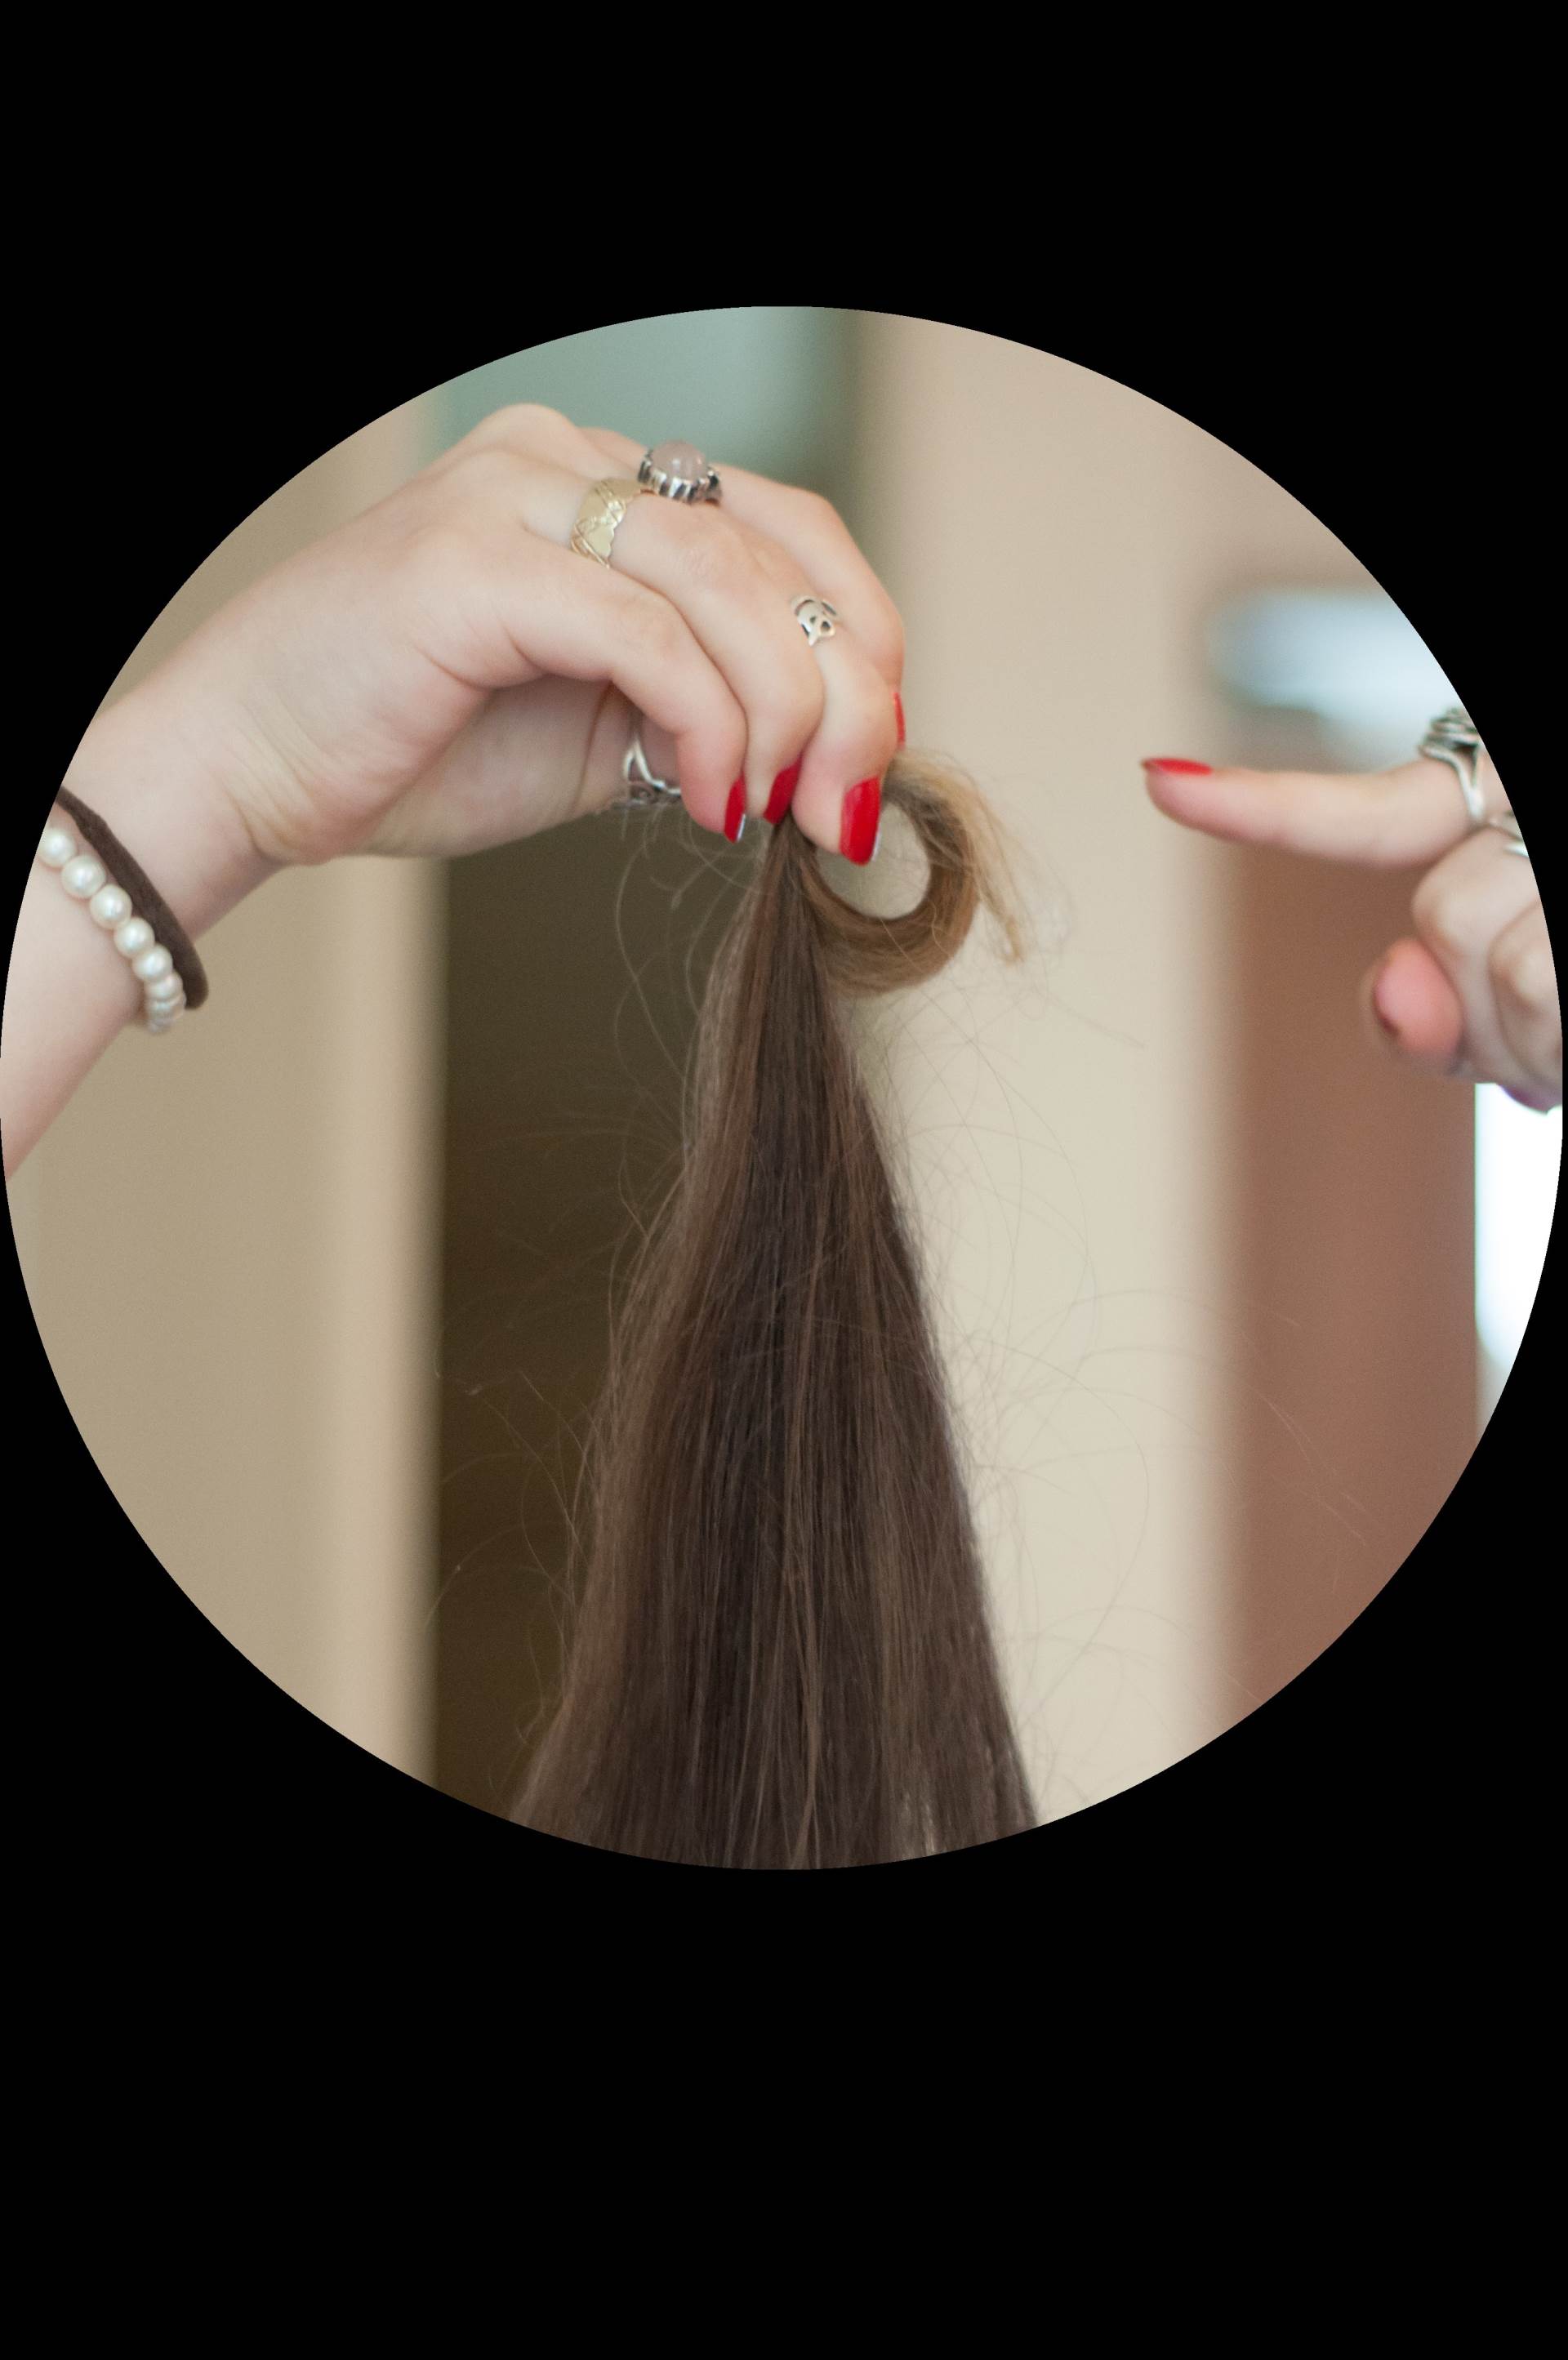
To start both methods, section off the portion that you want to roll; do this with the end of a comb or hair grip for a straight line (the straight line will give the look a more polished, neat finish).

If you’re a beginner, we suggest that you curl the section of hair in the direction that you want the roll to sit at this point. It will just give you a little bit of extra help.
Next, put some backcombing in the section of hair using a backcombing brush in a C curve motion. Do this with smaller pieces of the section to get lots of volume in there. Hairspray the section.
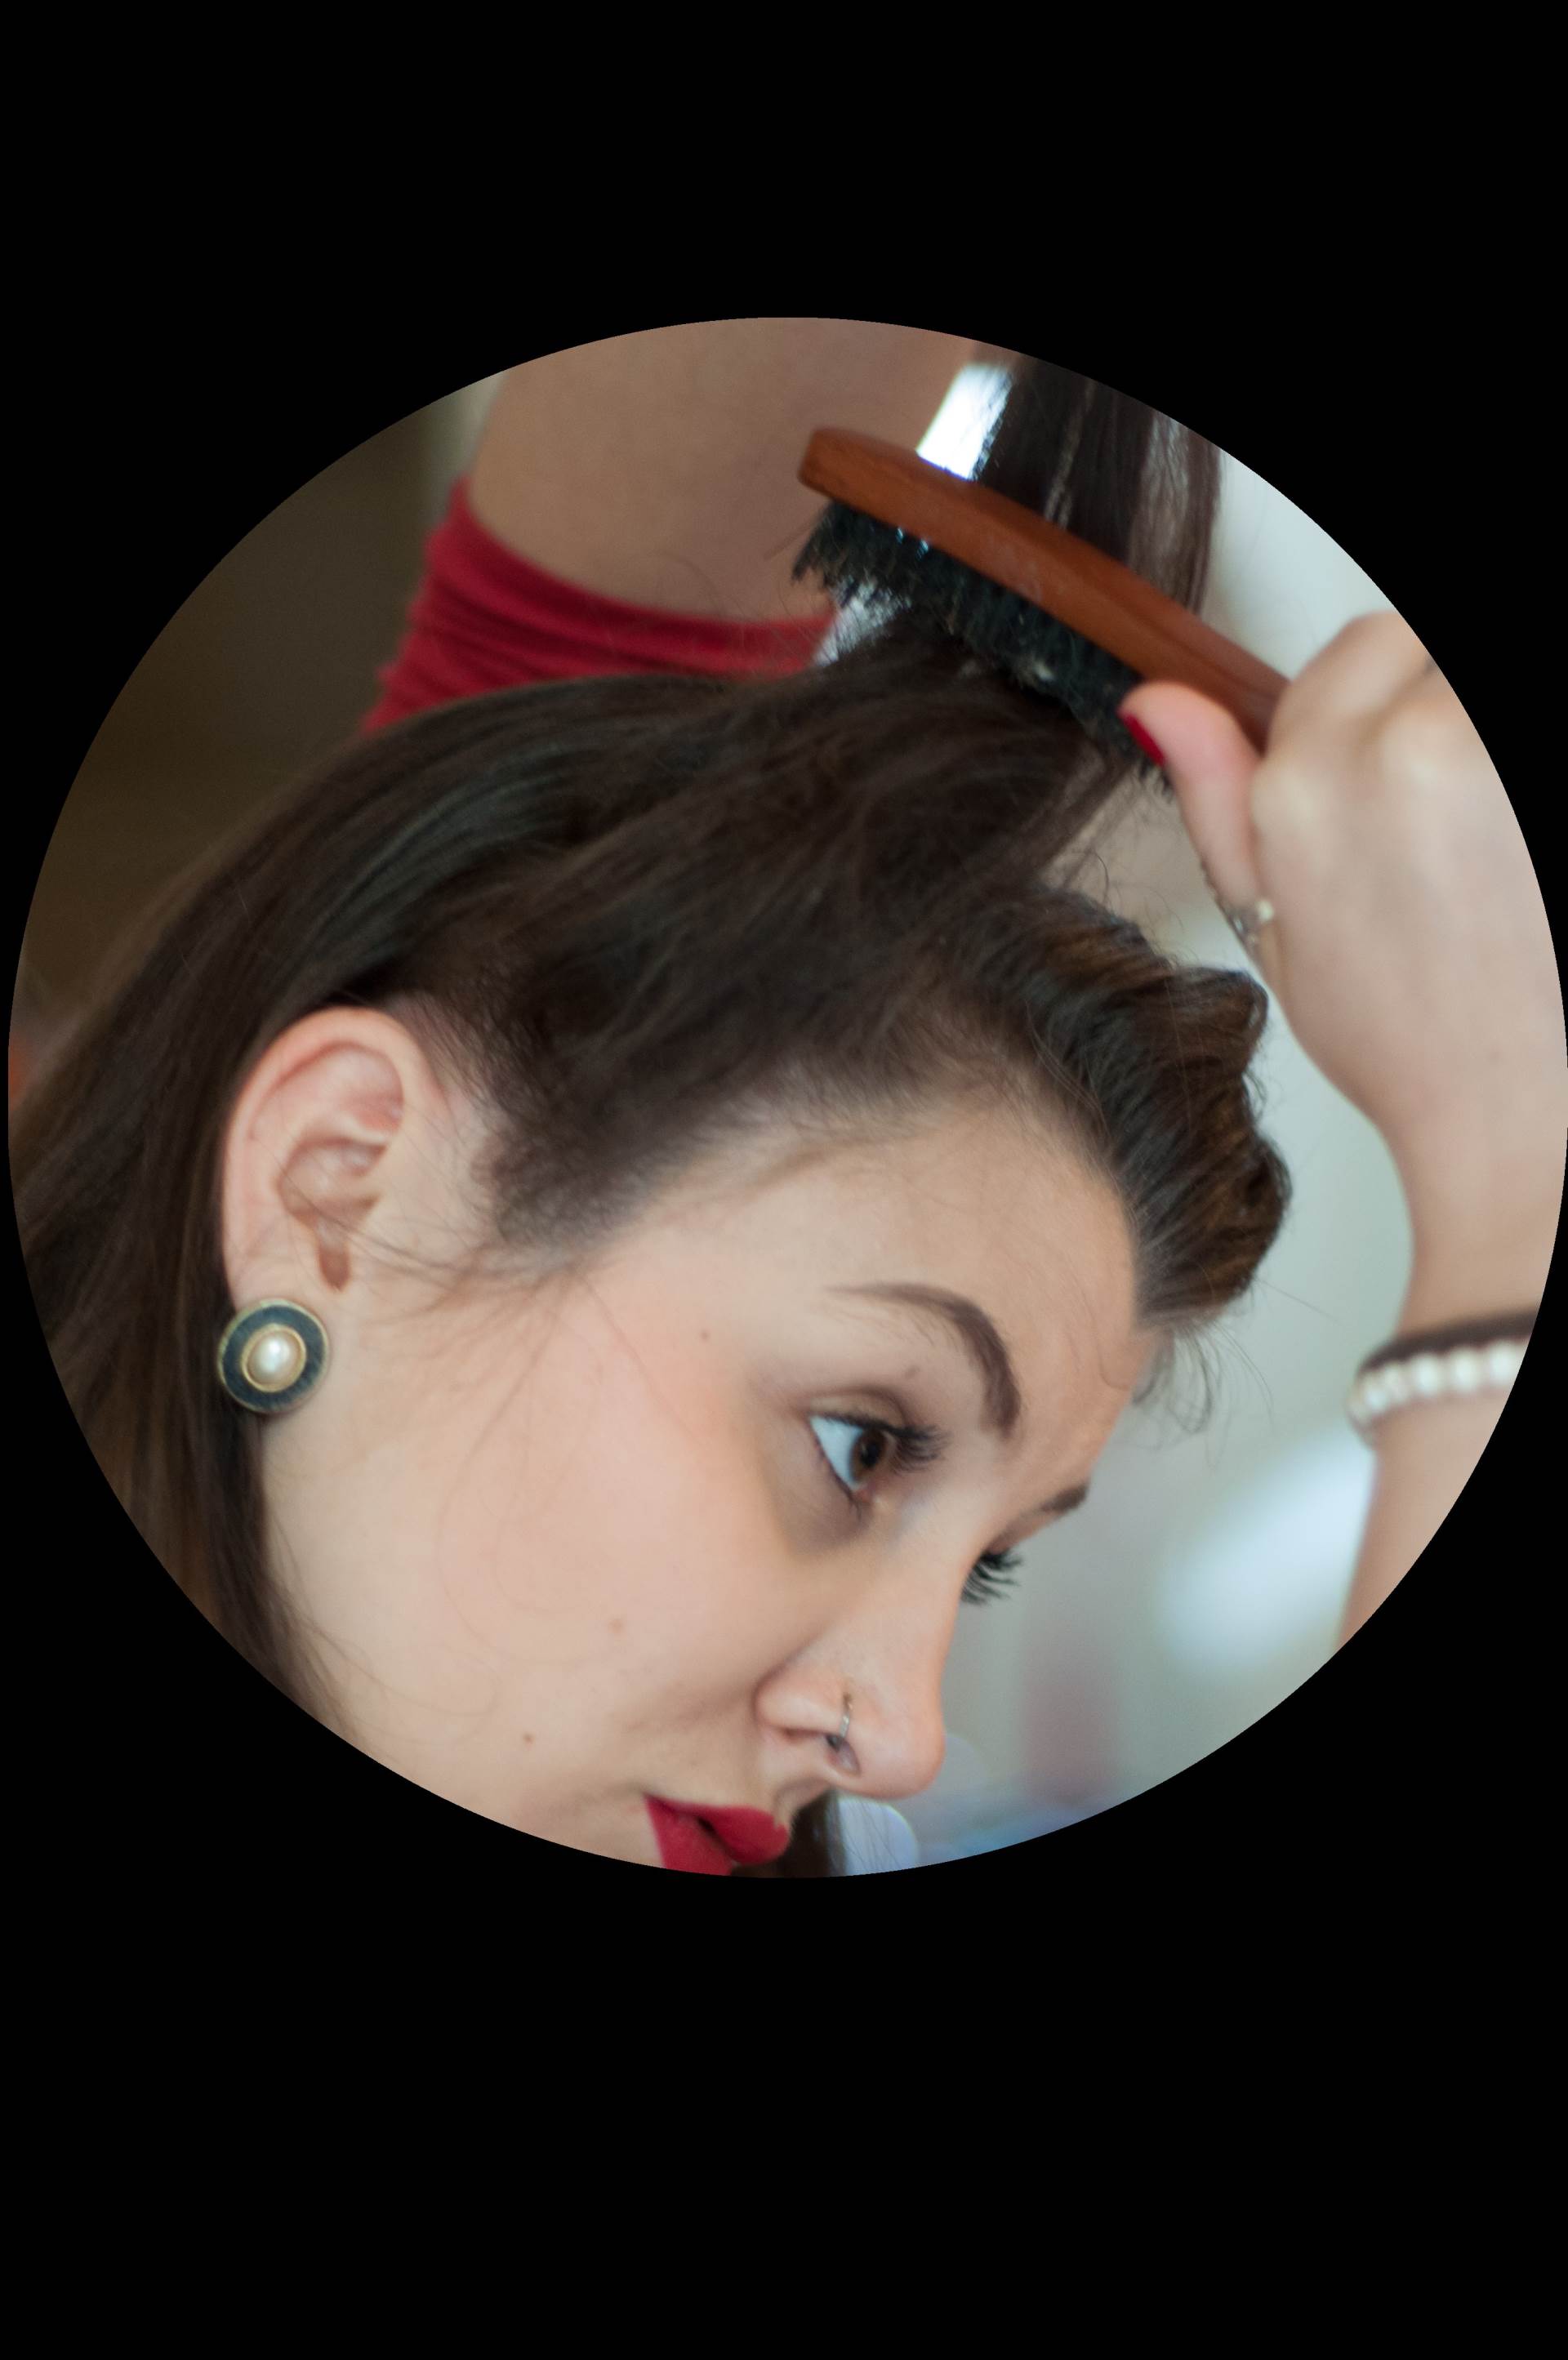
Now you need to smooth the section out without brushing out all of the backcombing. With your backcombing brush gently brush the outside of the section without your brush going all the way through. Use hairspray or pomade to tame flyaways and get a really smooth look.

Now you’re ready to start rolling!
Method One
To start this method hold the section of hair up away from your head taught, the tighter you hold the hair throughout the rolling process the closer it will sit against your head. Make a small loop at the end of the hair and then tuck the end through the certain so it sits neat against the loop.
 Now start to roll the loop towards your head keeping a tight hold of it.
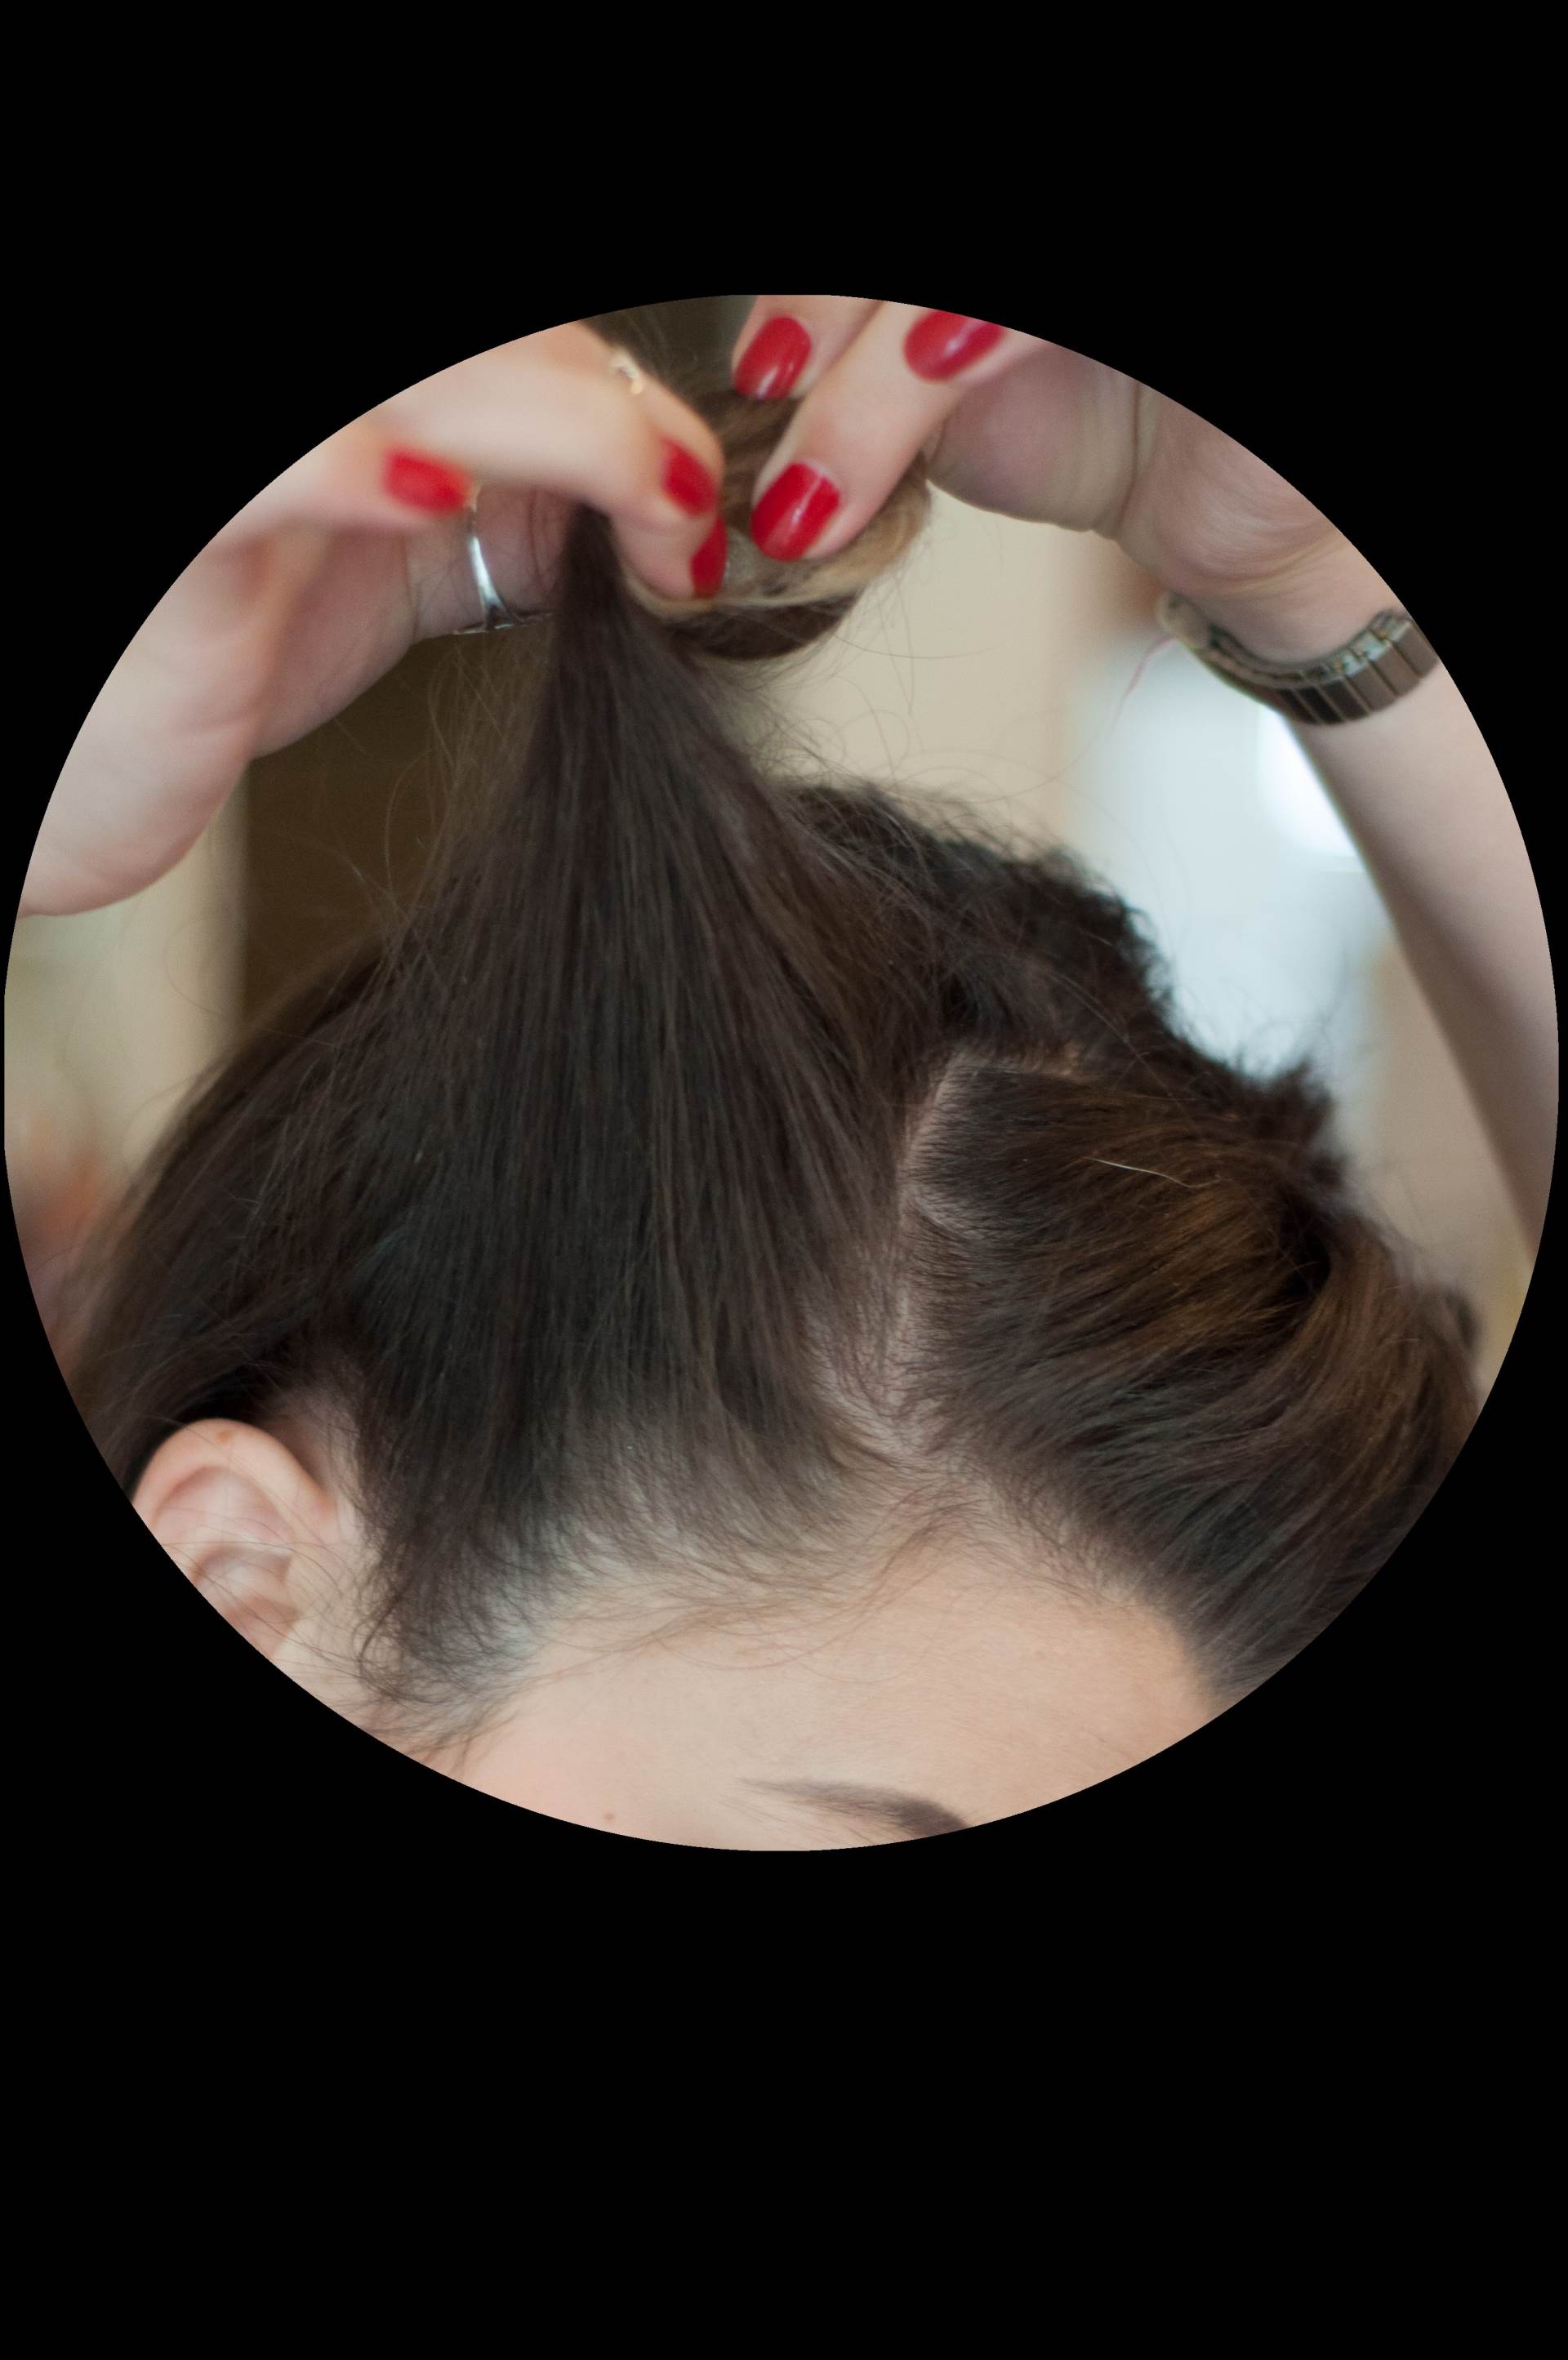
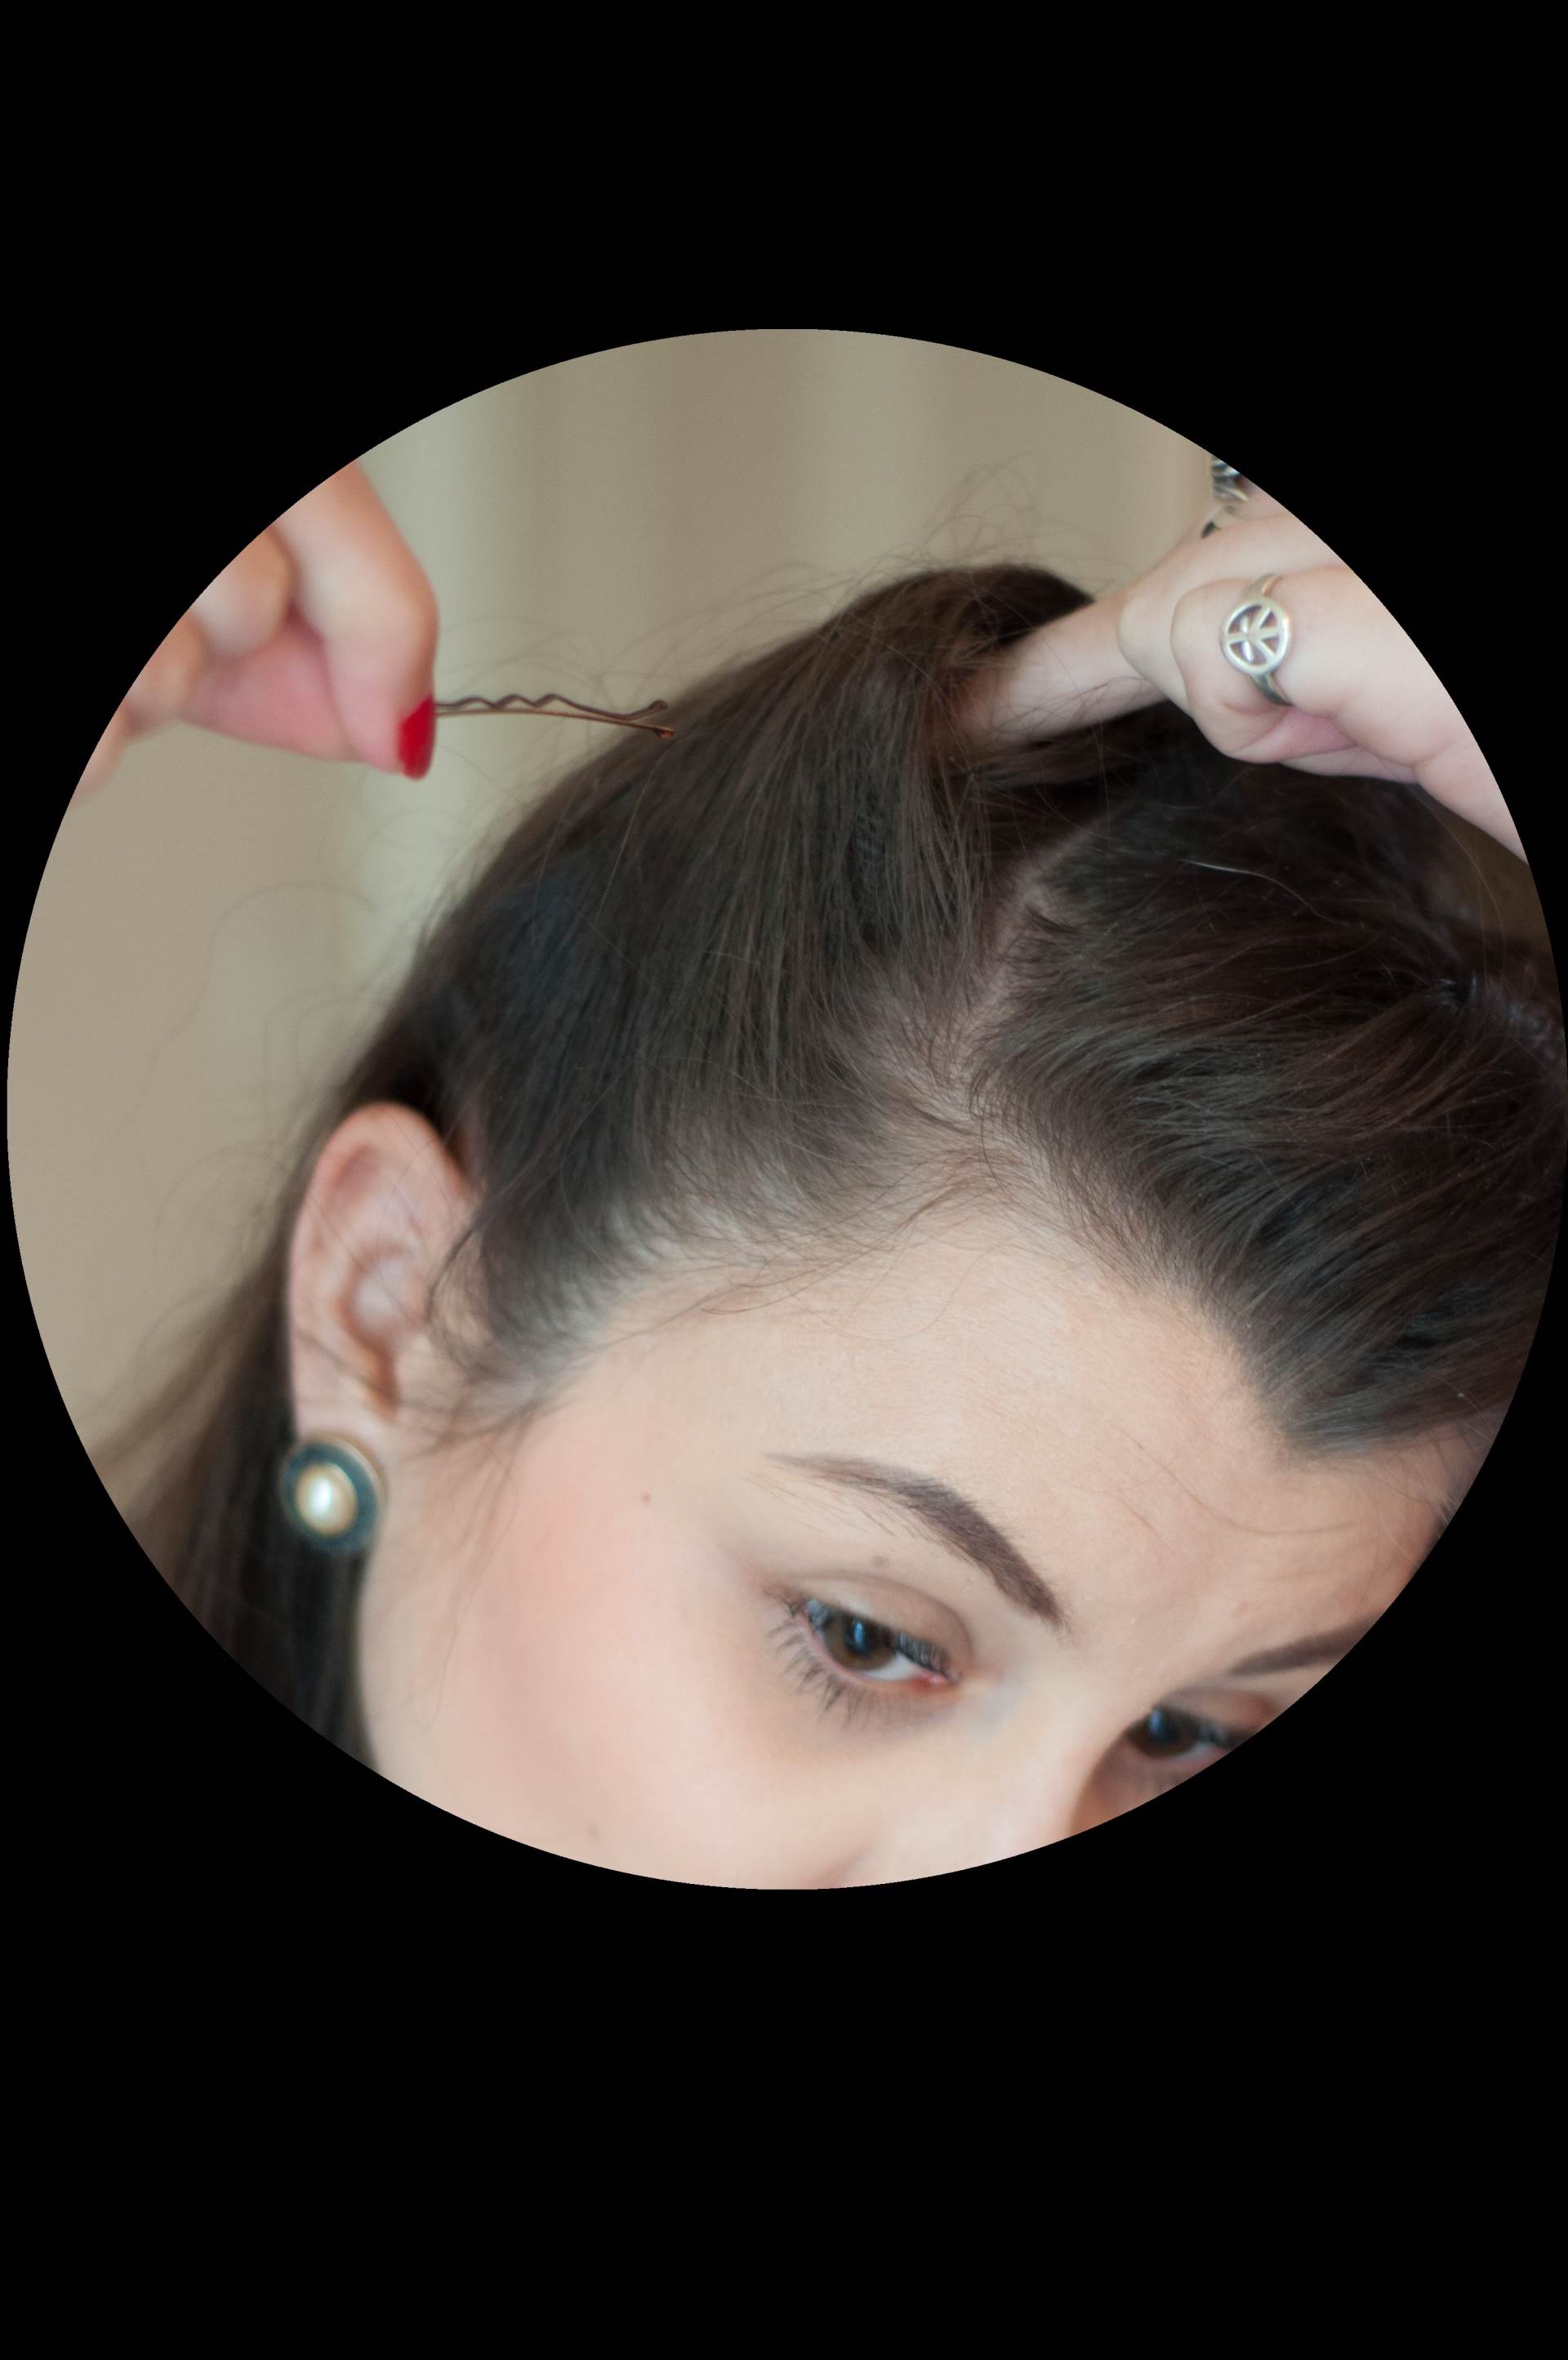
Once the roll is against your head put a hair grip through the centre of the roll from front to back. Now arrange and smooth the roll with hair spray, pomade and extra hair grips. You should be able to manipulate the roll once it is hair gripped and secured into a position that you’re happy with. Finish with more hair spray.
Method Two
For this method put two fingers flat against your head, palm at the front, finger tips facing the back of your head. The position of your fingers is important for this method because wherever you place your fingers at the start is where your roll will sit against your head.
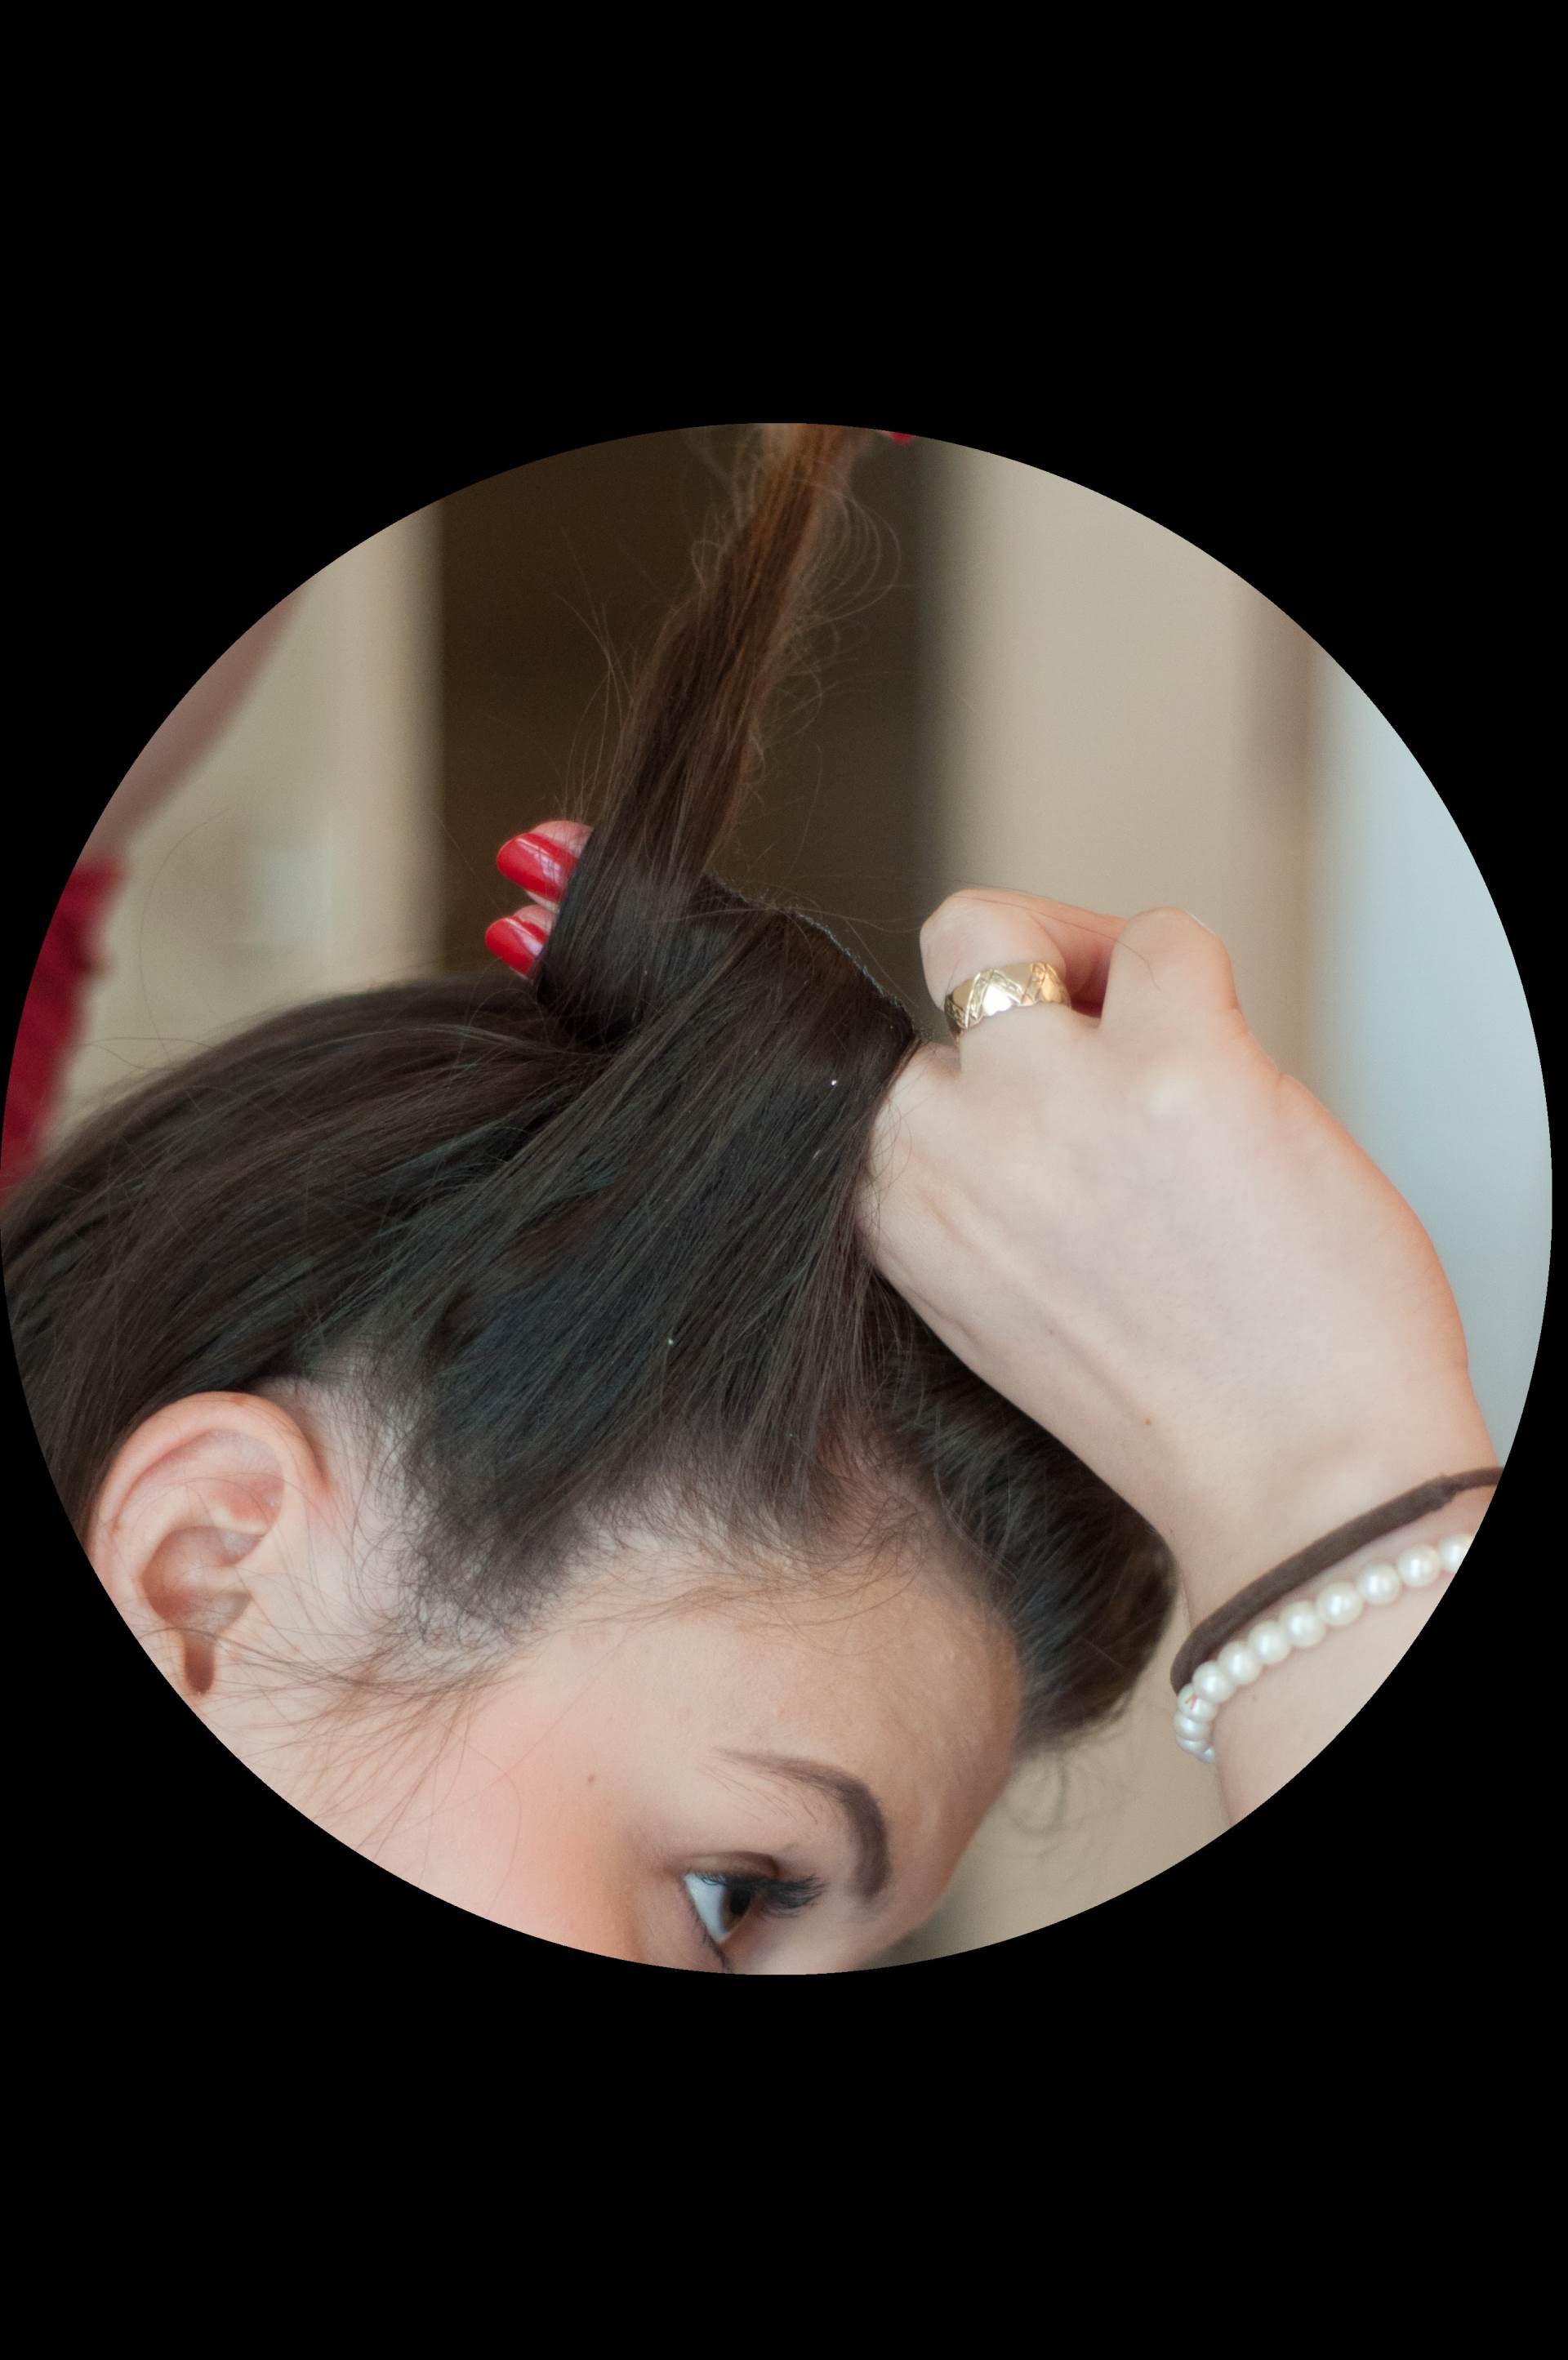
Keeping your fingers against your head, roll the hair around your fingers starting at the front and rolling towards the back.

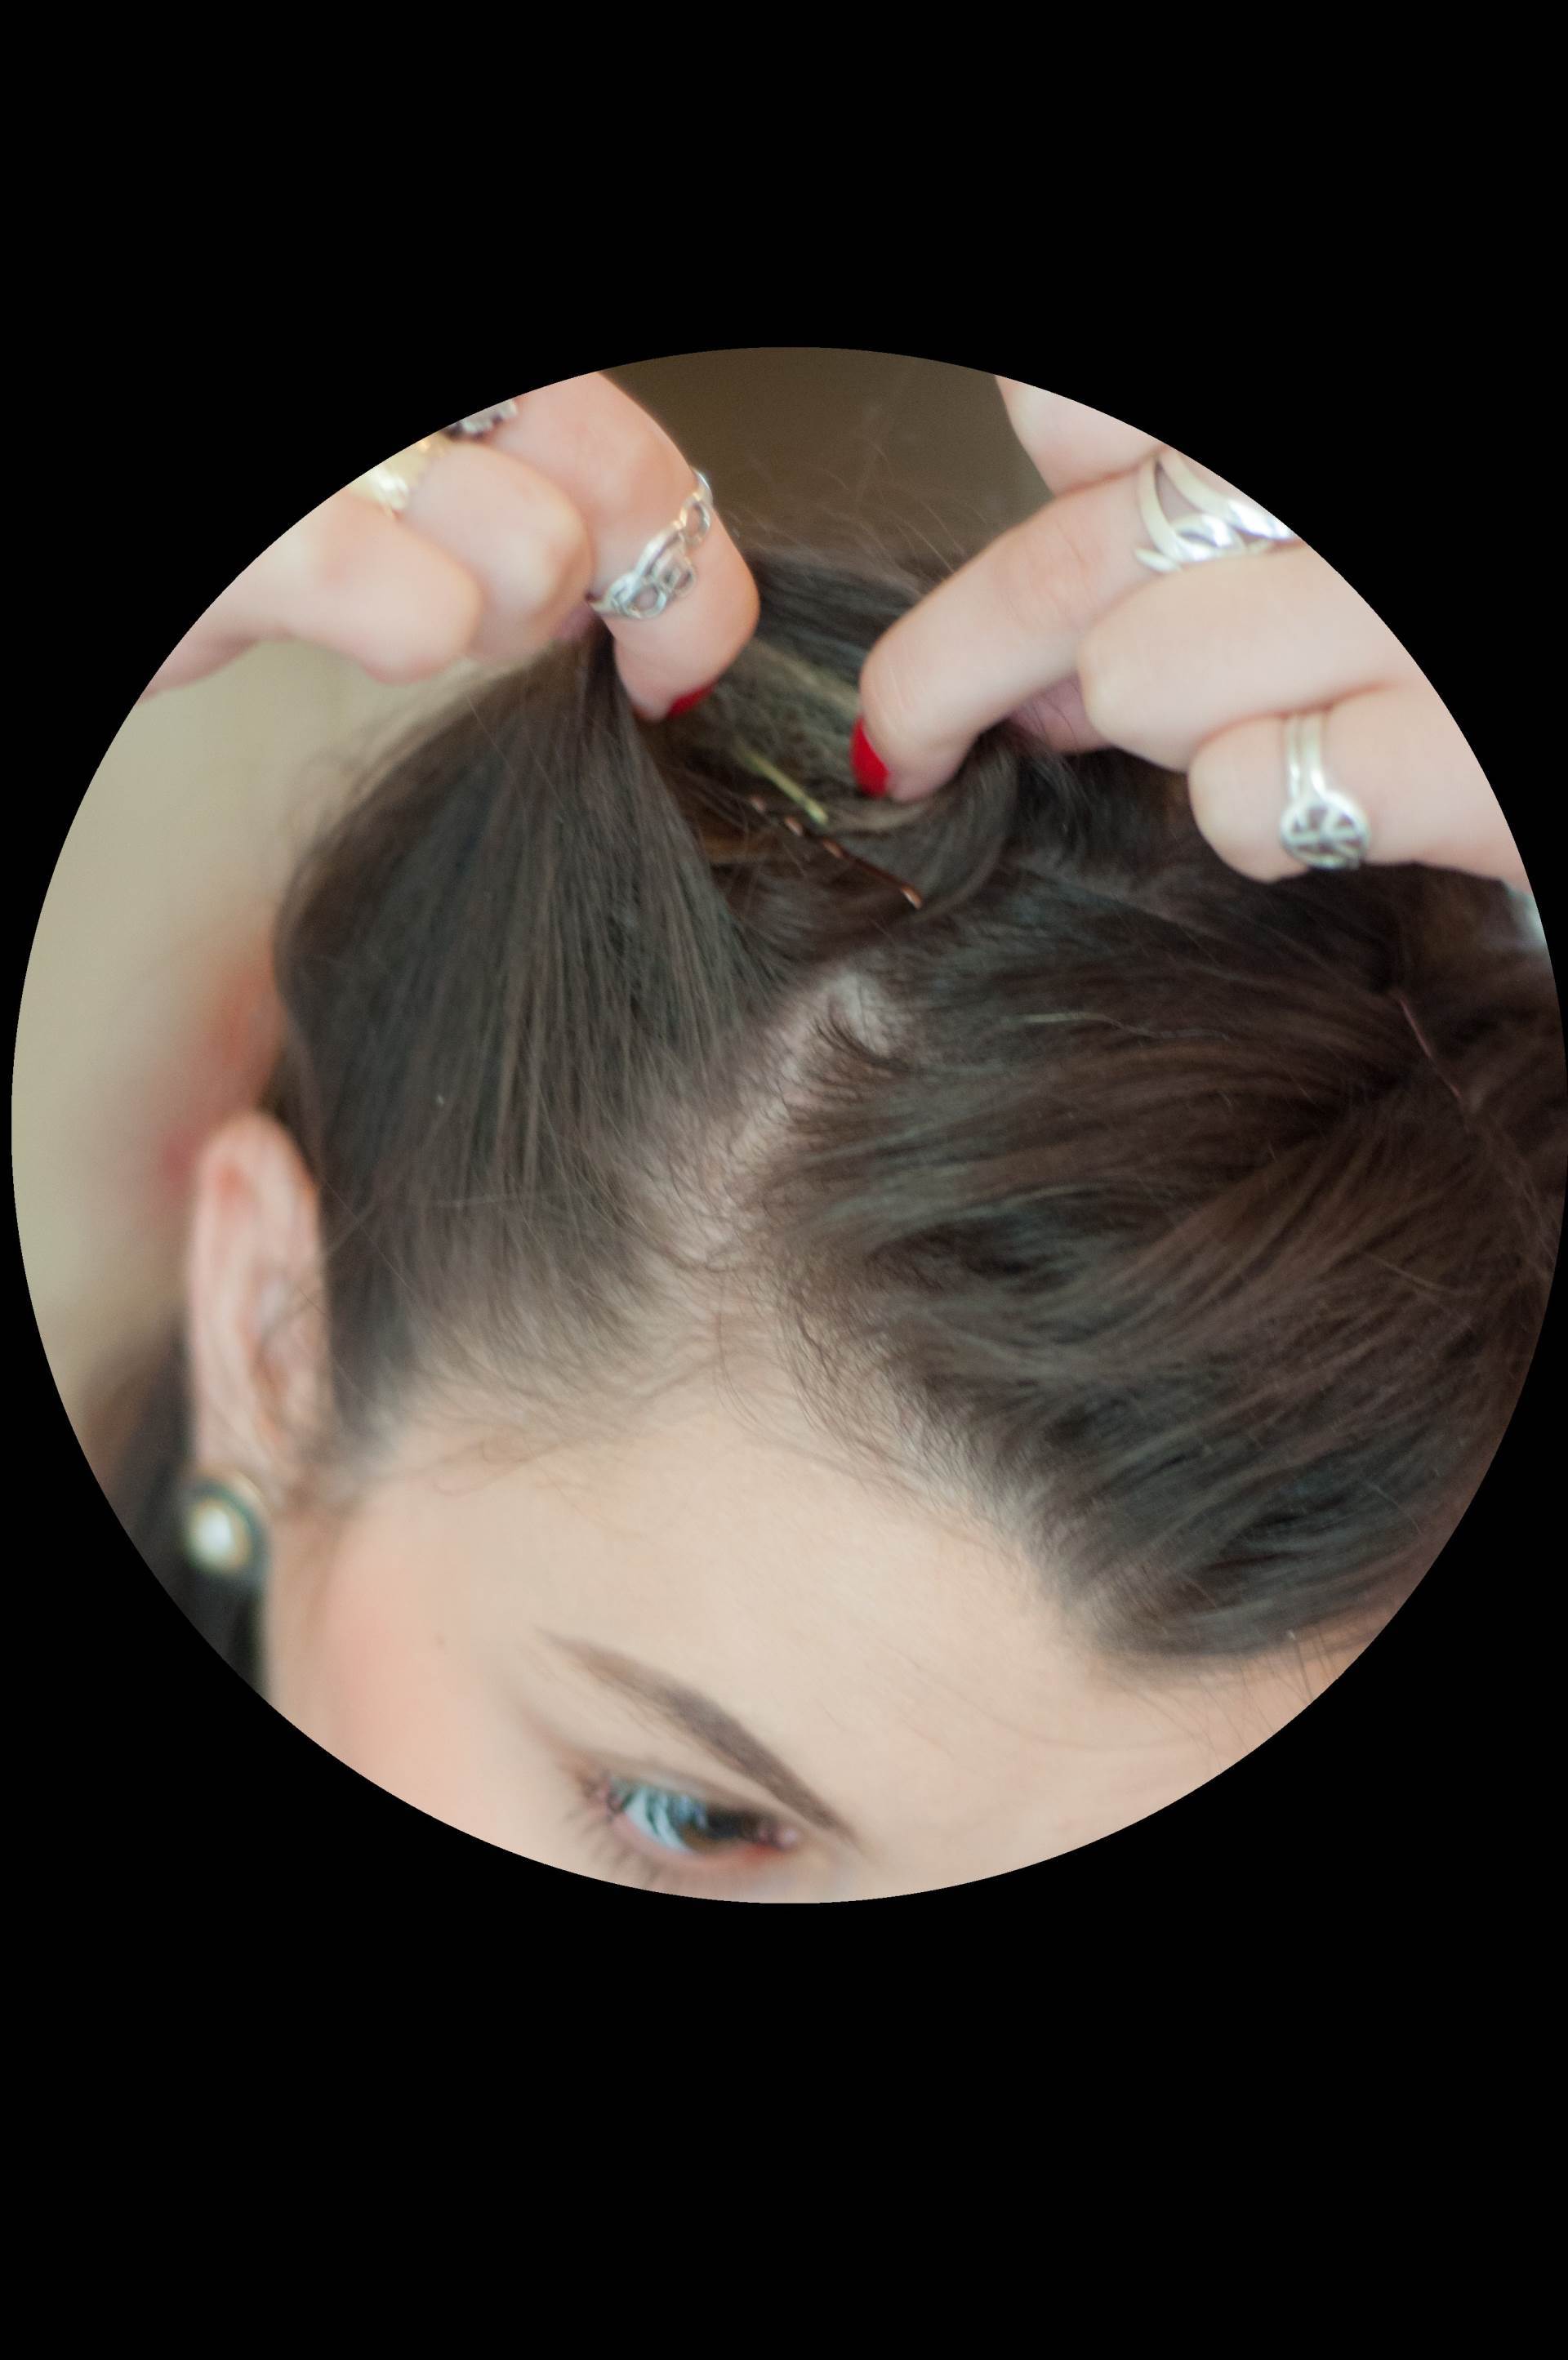
Then, carefully pull your fingers out of the roll and with your index finger run it around the inside of your roll. Put a hair grip through the centre of the roll, front to back. Secure with lots of hair spray and more hair grips.
Don’t attempt to do victory rolls for the first time when you’re due at a party in half an hour; sit down when you have a free afternoon/evening and practice.
Nobody will ever do the perfect victory roll straight away, it does take a little practice. Here’s a few tips to help:
- Roll the victory roll in the direction and position you want it to sit against your head.
- For a neater look try to hide your hair grips underneath your hair.
- If your hair is very fine spray dry shampoo on the section before you start for extra mold-ability.
- While you’re learning, hide any messy bits with flower clips or ribbons.
- If you’re really struggling, try rolling your hair around a hair roller or hair bender and then slip it out and pin it.
It is worth practicing because one day it will just ‘click’ and you can create so many different vintage looks by mastering the victory roll. Read on for our favourite products for creating victory rolls.
Our favourites:
- Schwarzkopf 2 Sexy Big Volume hairspray
- Murray’s Hair Glo Hair Dressing pomade
- Herbal Essences Uplifting Volume dry shampoo
- Byou Almost Invisible 2″ hair grips
- Head Jog teasing brush
You can book The Victory Salon for your wedding hair – find their contact form HERE